CMU 30 and CMU 80 Cross-Section Measuring Devices
Download- Universal
- Specimen measurement
Specimen dimension influences the test results
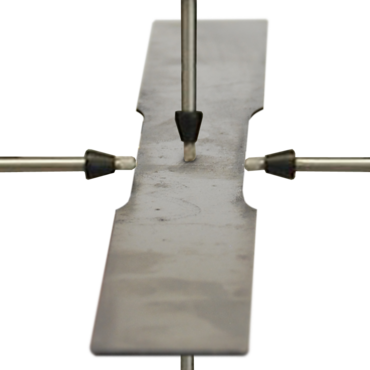
Cross-section measurement determines the thickness and width of a dimensionally stable specimen made of metal, plastic, composites or other materials.
To determine the load bearing capacity of the material, the specimen is then subjected to a tensile test or a flexure test. Precise measurement of the cross-section is required to accurately determine the tensile or flexural stress.
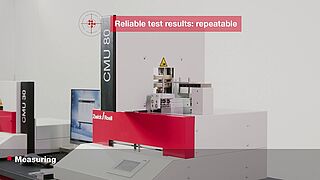
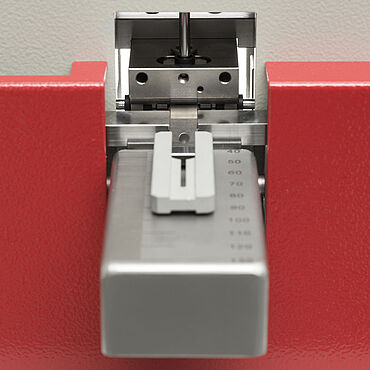
ZwickRoell offers cross-section measuring devices for determining the specimen thickness and width with precision. The heart of the device is a closed frame with four incremental measuring transducers mounted on it. The specimen thickness and width are measured differentially by each pair of transducers.
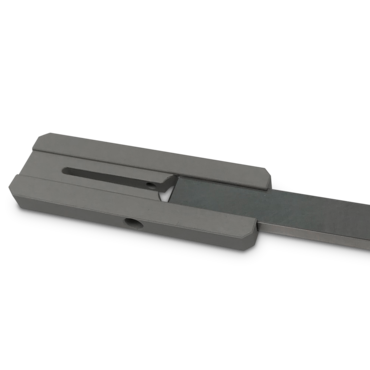
The values from the sensors are recorded by an electronics unit, while a programmable logic controller (PLC) takes care of control and data link functions. Each centering ring in the width and thickness direction ensures correct alignment and a secure specimen position during the cross-section measurement. Operation is via a color touch panel, from which the measured values can be read. The basic settings of the unit can also be configured here.
Videos on the cross-section measuring device
Our cross-section measurement delivers reliable test results
Measurement range and accuracy of the cross-section measuring devices
| Description | Value | |
| Description | CMU30 | |
| Item No. | 1007665 | |
| Measurement range/Accuracy | ||
| Measurement range, thickness | 0.2 ... 30 | mm |
| Measurement range width | 6 ... 40 | mm |
| Resolution | < 0.01 | µm |
| Repeat accuracy1 | ±1 | µm |
| Weight | 37 | kg |
- at a gauge block
| Description | Value | |
| Description | CMU80 | |
| Item No. | 1014919 | |
| Measurement range/Accuracy | ||
| Measurement range, thickness | 5 ... 80 | mm |
| Measurement range width | 10 ... 60 | mm |
| Resolution | < 0.01 | µm |
| Repeatability1 | ±2 | µm |
| Weight | 97 | kg |
- at a gage block
| Description | Value | |
| Description | CMU30 | |
| Specimens | ||
| Shape | Flat specimens | |
| Thickness, max. | 30 | mm |
| Width, max. | 40 | mm |
| Parallel length, min. | 60 | mm |
| Overall length, min. | 100 | mm |
| Description | Value | |
| Description | CMU80 | |
| Specimens | ||
| Shape | Round and flat specimens | |
| Thickness, max. | 80 | mm |
| Width, max. | 70 | mm |
| Parallel length, min. | 60 | mm |
| Overall length, min. | 320 | mm |
