Testing of heavy plates
They are used primarily in the construction industry, for large bridges, in large-scale construction and shipbuilding, for offshore drilling platforms and in wind turbines, as well as for heavy equipment such as cranes and excavators. Furthermore, they are used as semi-finished products for large pipes that transport oil and gas over long distances.
Heavy plates are steel sheets with a width of up to four meters and a thickness of at least three millimeters up to approx. 250 mm and a length of up to twenty meters. They are manufactured by the reverse thermomechanical rolling of slabs.
In many applications, compliance with characteristic values or specification limits for safety in long-term use is required. Depending on the intended use of the heavy plate, different heavy plate tests are used to determine the relevant and necessary characteristic values. The tests on heavy plate listed below are frequently used test methods. In special applications or uses, other test methods not mentioned here can be used to ensure safe and long-term use and operation.
Tensile tests Hardness tests Impact tests Fatigue and fracture mechanics tests Metals brochure Interesting customer projects
Tensile tests on heavy plates
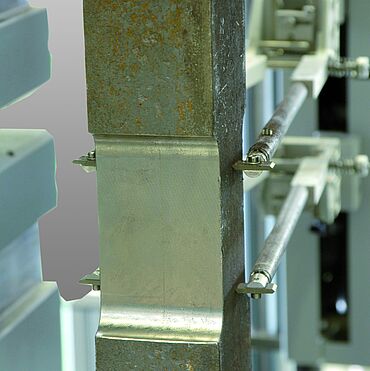
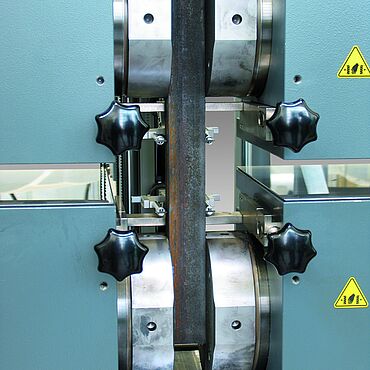
Tensile tests on heavy plates are mainly performed according to internationally recognized and widespread standards ISO 6892-1 and ASTM E 8 ISO 6892-1 is also a European standard (EN ISO 6892-1) that is identically worded, and thus applicable in the European Union (e.g. DIN EN ISO 6892-1 in Germany). Tensile specimens for this type of tensile test are machined from heavy plate in such a way that the sheet thickness is retained as much as possible for the specimen. Specimens have a correspondingly large cross-section and usually require materials testing machines with a high load range or heavy load range. The parallel length or the part of the specimen deformed under load is produced by milling. The unprocessed thickness and the careful milling and smoothing of the specimen thickness ensure that the specimen is changed only slightly and therefore material characteristics are barely influenced.
Since 2009, ISO 6892-1 and ASTM E8 allow the test speed to be automatically controlled and regulated by the strain rate. The tolerances called for in the standards for strain rate control (in particular those relevant to closed-loop strain rate control) can be easily met by both the makroXtens and laserXtens extensometers.
Automated tensile test on heavy plate
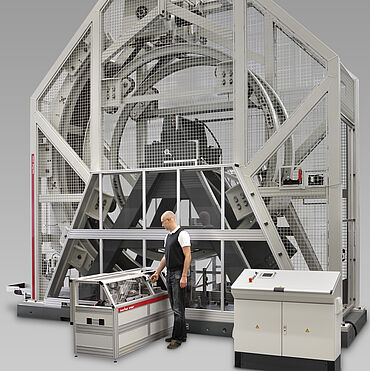
Safe, precise, reliable handling of heavy specimens places severe demands on operators of tensile tests. ZwickRoell's automated robotic testing systems help to satisfy these requirements, by relieving the load on the operator, minimizing operator influence, and increasing operational safety and reliability.
With ZwickRoell automation, specimens to be tested are manually sorted into magazines. From this point (storing the specimen). the tensile test is performed automatically, right up to sorting the specimen remains for inspection if required.
Depending on requirements, additional measuring devices and test devices can be integrated into this fully automated sequence in addition to the tensile testing machine, particularly ZwickRoell’s cross-section measuring device with four independent, automatically applied measuring transducers for precise and standard-compliant determination of cross-sectional area.
Testing solutions for tensile tests on heavy plates
ZwickRoell offers a wide range of standard and customized testing systems up to 2500 kN for determining characteristic values from tensile testing. These testing systems can determine material characteristics according to the standard with a high level of accuracy. ZwickRoell parallel closing, hydraulic specimen grips ensure that perfect clamping and positioning of specimens are maintained throughout the entire test, preventing the specimen from slipping.
In most cases, standard-compliant strain measurement is performed using automatic contact or optical (non-contact) extensometers. The ZwickRoell makroXtens is the classic, proven solution for tests on heavy plates. With its mechanical construction featuring high resolution and a very high level of accuracy and robustness, the makroXtens is able to withstand very harsh environments. The robust mechanical construction allows it to measure continuous strain up to the point of specimen break. Strain at break can be determined automatically, without the need for tedious specimen markings or manual measurement after specimen remains are collected.
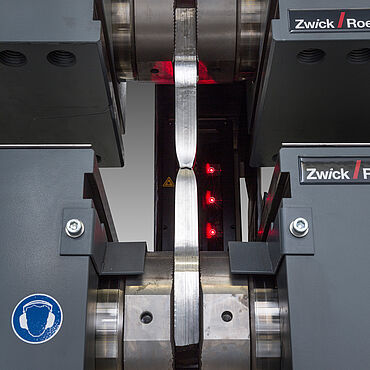
The laserXtens is our innovative solution for strain measurement up to specimen break, fully meeting standard requirements (ISO 6892-1, ASTM E8, ISO 9513, and ASTM E83) for heavy plate specimens. The laserXtens does not require the application of specimen markings; based on the measurement principle, the laserXtens can use the pattern created by the the laser light as markings. The optical evaluation of this "self-marking" is carried out in such a way that even scale and the occasional flaking of scale do not disturb the markings.
Hardness testing on heavy plate
Hardness tests on heavy plates are performed in a variety of ways. Depending on the application, hardness tests are performed to ISO 6506-1 (Brinell), ISO 6507-1 (Vickers), ISO 6508-1 (Rockwell) as well as ASTM E10 (Brinell), ASTM E384 (Vickers and Knoop) and ASTM E18 (Rockwell). Other methods or regulations are also used in certain application areas (for example, the European standard EN 2002-7 for applications in aerospace); for the testing of large surfaces and non-destructive testing, QEM methods are used (for example, the 3MA method), which is described in the VDI Guideline VDI/VDE 2616-1 (Hardness Testing of Metallic Materials).
Hardness tester for testing of heavy plates
The ZwickRoell product portfolio offers hardness testers and instruments for every test method. ZwickRoell hardness testing machines and instruments meet the requirements of all common international standards and can also be calibrated to international standards. As a calibration lab, ZwickRoell is accredited for the calibration of hardness testers by the German national accreditation body DAkkS.
One aspect of hardness testing is the verification and determination of the average global hardness value of sheet metal after rolling. Rolling is a thermo-mechanical process, which in addition to setting the thickness of a sheet metal, also determines mechanical properties. Hardness methods that employ higher forces are used to determine the average values of these sometimes coarse structures. Preferred methods are Brinell or Rockwell. For heavy plates, it is not uncommon to use portable hardness testers that can be used on-site on the original part. When using stationary hardness testers, coupons are machined from heavy plates and used as specimens, or else smaller specimens are machined from the coupons and, if necessary, further processed for a hardness test.
Another aspect of hardness testing is examination of the microstructure by performing hardness tests on microstructural components. Due to the small size of the microstructural components, hardness testers with small to very small forces are used—usually stationary microhardness testers with indentation sizes and depths that can be adapted to the dimensions of the microstructural components via the indentation forces.
Charpy impact test on heavy plates
Notched impact strength is an important characteristic for applications in pipeline construction and shipbuilding and can be determined with Charpy specimens in pendulum impact testers. The test method is described and specified in the international standard ISO 148-1 and in ASTM E23. The ISO standard is identical to the European standard (EN ISO 148-1).
In a Charpy impact test, the standardized notched specimens are inserted manually using simple feed devices, or with automated robotic systems and impacted with energies of up to 750 J. The tests are performed at ambient temperature, but also at low temperatures to determine the high to low transition temperature. ZwickRoell supplies temperature conditioning baths for correct conditioning of specimens down to –70°C and temperature conditioning devices for down to -180°C.
Under the Machinery Directive, pendulum impact tester operation is subject to strict safety requirements, which are comfortably met by ZwickRoell’s safety housing and sophisticated safety technology.
Drop weight test / Pellini test on heavy plates
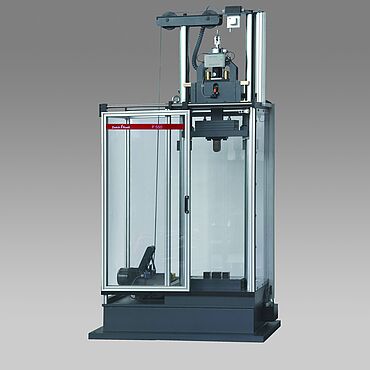
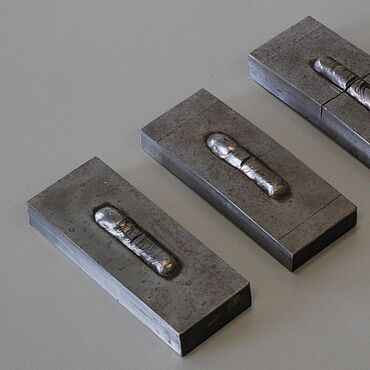
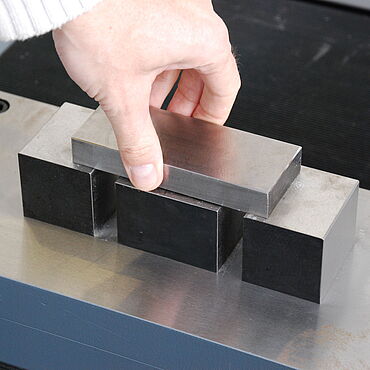
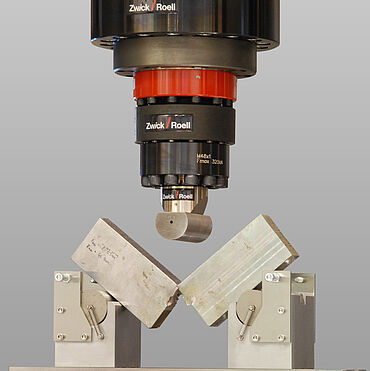
The drop weight test as described by W. S. Pellini is used to investigate the brittle fracture tendency of steels for comparative evaluation of crack arrest behavior to the American standard ASTM E208 and steel and iron test sheet SEP 1325. During the test, weights fall onto a rectangular flexure specimen supported at both ends, causing a brittle fracture on the tensile side of the specimen within a given total deflection. This brittle fracture is initiated by a notched welding bead laid on this side and known as the crack starter. It is then determined whether the brittle fracture caused by the artificial crack-starter spreads as far as one of the two side faces of the specimen or is arrested beforehand. Crack formation or break are evaluated optically and manually. If the fracture extends to one of the two side faces, the specimen is considered broken. Tests also depend on the specimen temperature.
Drop weight testers for Pellini tests are available in two sizes with energies of 550 J and 1650 J. The maximum drop height is 1.0 m or 1.3 m. The drop weight is raised automatically with stepless drop height adjustment. In accordance with the standards (ASTM E208 and SEP 1325), the predefined drop-energies are easily obtained with the use of weights. Drop energy is calculated automatically. The test area is electrically and mechanically protected via a safety circuit. The test is not performed until all safety contacts have been tripped and executed. Operation is via a touch screen, on which drop height, drop energy, drop weight, and impact velocity are shown.
Fracture toughness testing on heavy plates
Fracture toughness testing K1c is an important characteristic for metal materials in safety-related applications such as aircraft construction, power plant construction, and even automotive engineering. Fracture toughness is determined using a specimen in which an artificial crack has been introduced. The crack is introduced usually through notching of the specimen followed by pre-cracking until a defined crack length is achieved. The specimen is then loaded quasi-statically to break. The fracture toughness K1c can be determined from the load-deformation curve and the length of the crack. The ASTM E399 standard describes the appropriate test procedure. Other relevant standards are ASTM E813, E1152 and E1290.
The two-stage test for K1c determination can be efficiently performed on ZwickRoell Vibrophores, followed by testing on a ZwickRoell materials testing machine. Crack formation in the specimen is caused by the mechanically produced notch followed by cyclic loading. Due to the high achievable frequency of the vibrophore, the so-called transient oscillation to generate a defined crack occurs very quickly and is highly reproducible due to the high sensitivity of the resonance frequency to crack formation.
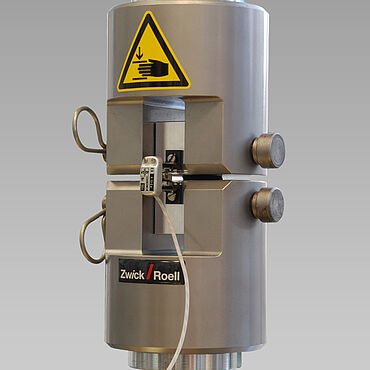
The specimen geometry most frequently used is the specimen referred to as CT specimen (compact tension). The load is applied through pins inserted into holes in the specimen, yielding a combination of tensile and flexure loading.
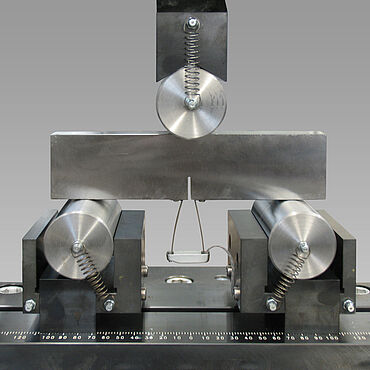
In addition to CT specimens, SENB specimens (single-edge notched bending) are used. While the loading condition for the bending specimen is simpler than for the CT specimen, the required specimen volume is significantly larger. This is clearly shown in the illustrations.
