Sheet Metal Test: Testing of Sheet Metal and Strips
Strip refers to steel and non-ferrous metal products that are rolled up into coils, e.g. hot-rolled strip, which is used as a pre-material for cold-rolled sheets.
Hot-rolled strip is produced up to a thickness of approx. 15 mm and in widths of up to approx. 2,200 mm. Hot-rolled plate is sheet cut out of hot-rolled strip and is up to approximately 15 mm thick and up to approximately 2000 mm wide.
Tensile tests Hardness tests Flexure tests Imipact tests Fatigue and fracture mechanics tests Deformation testsAutomation
Tensile tests on sheet metal and strips
Tensile tests on sheet metal and strips are predominantly performed to the international standard ISO 6892-1 and the American standard ASTM E8. In addition, there are many national standards that have aligned more and more with the international standard ISO 6892-1 over the last few years. EN ISO 6892-1 applies to Europe and is identical in wording. All EU member states must adopt it as their national standard (for example, as DIN EN ISO 6892-1). The characteristic values defined in these standards and described in their determination methods are comparable in their end results. Important values for the characterization of materials are the yield point, the offset yield, die maximum strength as well as strain at maximum force, strain at maximum stress and strain at break. These characteristic values are used by engineers as the basis of their work and are important criteria for product acceptance in the customer-supplier relationship.
Tensile tests on sheet metal and strips under increased temperature
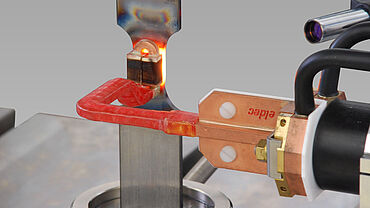
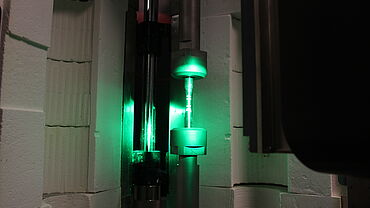
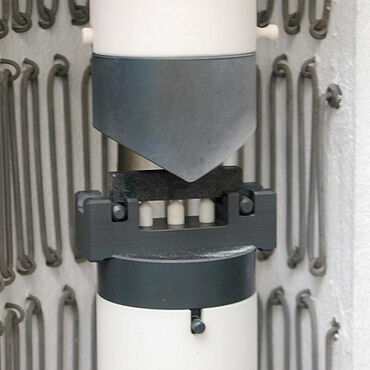
In applications such as engine design, power plant design, powertrains, and chemical plants, the material behavior under increased temperatures up to approx. 1,200 °C are of vital importance. Tensile tests are primarily performed for these applications under increased temperature, although flexure tests are as well. ZwickRoell offers high-temperature testing systems as complete solutions for these tests. These consist of temperature-controlled furnaces, specimen-grip pull-rods, high-temperature strain measurement device and other essential high-temperature testing accessories for integration into ZwickRoell testing machines.
Testing solutions for tensile tests on sheet metal and strips
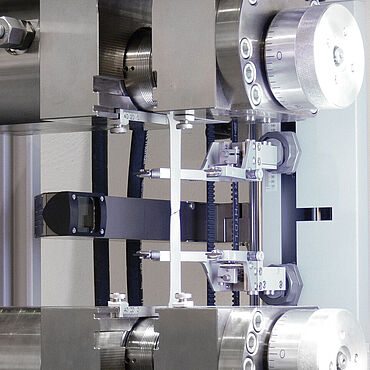
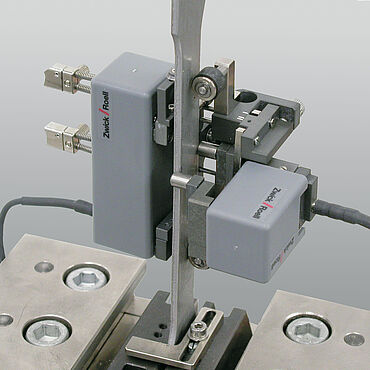
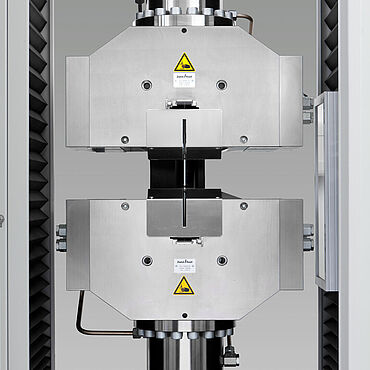
ZwickRoell supplies a wide range of materials testing machines for determining material properties through tensile tests; these systems provide high-precision testing under high loads. ZwickRoell has a comprehensive range of axial and transverse strain extensometers, which allow you to select the optimum combination in line with your requirements and testing conditions, for example, a makroXtens digital extensometer combined with an optical transverse strain extensometer. This combination offers robustness and a high level of automation, as well as easy specimen handling. The makroXtens measures extension up to the point of break. The mechanical version of the knife edge holders prevents the measuring system from being negatively influenced by a sudden tension release of the specimen at break. With the optional break location identification feature, the optical transverse strain extensometer measures the transverse strain up to break along the specimen, thus making classification of the break location as accurate as possible.
R- and n-values are often also determined in tensile tests in order to characterize forming properties; the n-value describes the work hardening—increase in stress—during plastic deformation up to uniform elongation, while the r-value describes the vertical anisotropy. The n-value is determined from the tensile stress data and strain values; for the r-value, the transverse strain on the tensile specimen is additionally measured. Tensile specimens are taken from the strip or sheet at set angles to the rolling direction. One factor affecting the r-value is the rolling direction. This can be particularly important when using the sheet to manufacture components through bulk metal forming. The sheet thickness is retained as specimen thickness in a tensile test so that the material does not undergo any changes during surface processing. The parallel length is produced by milling or punching together with finishing so that the material does not undergo any changes during this machining process.
A distinctive feature is the ability to perform a two-axis tensile test, or cruciform biaxial tensile test, which is used to determine additional deformation properties of the material. It is primarily employed in research and development, as it allows defined stress values to be set and investigated at the intersection point of the specimen. ZwickRoell offers three different models of cruciform testing machines. In most cases, strain is measured optically and without contact. For this, ZwickRoell offers various optical/non-contact extensometers.
Hardness tests on sheet metal and strips
Hardness testing on sheet metal and strips is mainly performed to characterize the overall surface hardness of a specimen and for metallographic investigations. Depending on the application, hardness tests are performed to ISO 6506-1 (Brinell), ISO 6507-1 (Vickers), ISO 6508-1 (Rockwell) as well as ASTM E10 (Brinell), ASTM E384 (Vickers and Knoop) and ASTM E18 (Rockwell). In addition, other methods or specifications are used for certain application areas (for example, the European standard EN 2002-7 is used in the aerospace industry).
Hardness testing is also used for weld seam tests on sheet metal and strips if larger constructions are welded together from these. Striking examples of this is ship construction, offshore facilities, and pipeline construction for oil and gas transport.
The DIN EN ISO 9015 series of standards defines the test types. Typically, hardness tests are performed according to Vickers HV5 or HV10 (with test loads of 49 N or 98 N). Since during weld seam testing, hardness must be tested and monitored in the base material, in the heat-affected zone and in the weld metal itself, a large number of indentations must be made on the cross-sections and transverse sections of a weld seam. Automatic hardness testers are often used for this type of test, which use programmable sequences to automatically place indentations at predetermined positions and then also measure them automatically.
Hardness tester for tests on sheet metal and strips
The ZwickRoell product portfolio offers hardness testers and instruments for every test method. Fully automated systems are specifically used for weld seam testing. These can perform hundreds of hardness tests without manual intervention by the operator, autonomously and efficiently. ZwickRoell hardness testing machines and instruments meet the requirements of all common international standards and can also be calibrated to international standards. As a calibration lab, ZwickRoell is accredited for the calibration of hardness testers by the German national accreditation body DAkkS.
Flexure tests on sheet metal and strips
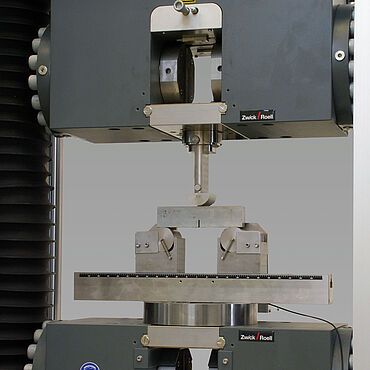
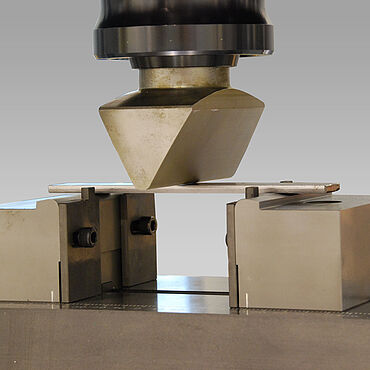
The 3-point flexure test serves to not only determine the characteristics of the flexural properties but also visually evaluates the flexural edge. In particular, the behavior of the weld seams are visually examined during the flexure test. ZwickRoell’s range of flexure test kit options combined with adaptations to existing specimen holders provide an ideal solution.
