DuraScan micro hardness tester
Vickers laboratory hardness tester – from manual to fully automatic Download- Vickers
- Knoop
- Brinell
- 0.00025 – 62.5 kgf
- Manual specimen positioning
- Fully automatic
- Fully automatic & overview camera
- Fully automatic & overview camera & linear slide
- Lite version without PC and display
- ISO 6506
- ISO 6507
- ISO 4545
- ASTM E384
- ASTM E92
- ASTM E10
DuraScan micro hardness tester – standards are not our benchmark
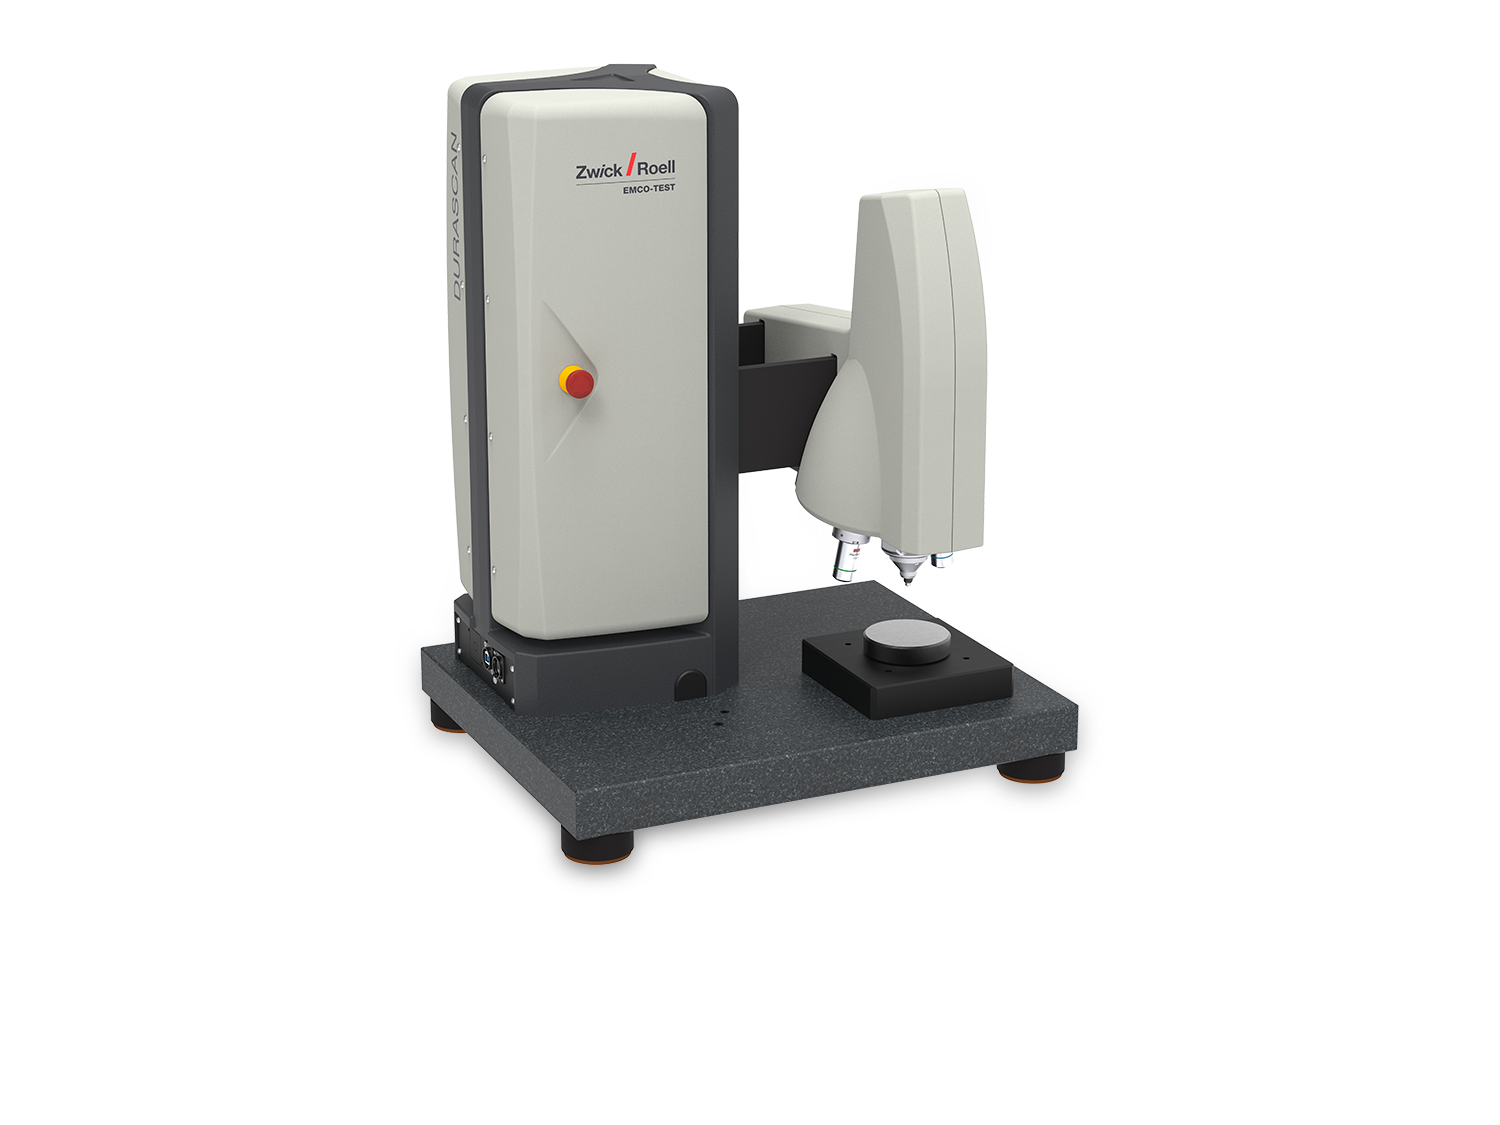
- The DuraScan micro hardness tester is ideal for solving a wide variety of test tasks providing you with an efficient laboratory companion for hardness testing. A wide variety of applications are covered through the use of templates and help settings according to the current specifications of the standard. Hardness values can be determined for a wide variety of materials and shapes. Perform tests on steel, aluminum, sintered parts, copper and many other materials in the form of flat surfaces, tubes and even spheres.
- The DuraScan series with which all Vickers, Knoop and Brinell test tasks can be tested in a load range between 0.25 g and 62.5 kg features a high level of efficiency, flexibility and process reliability. The DuraScan 10 / 20 models are the ideal semi-automatic micro hardness testers for simple applications. The fully automatic DuraScan 50 / 70 / 80 models are ideal for complex and comprehensive test tasks. The entire test sequence, from setting the indentation parameters to displaying the hardness value, is always fully automated, eliminating operator influence to the greatest possible extent.
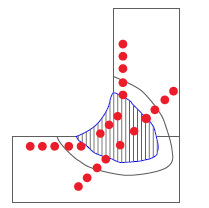
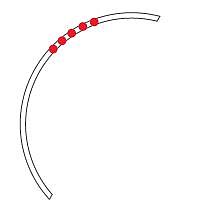
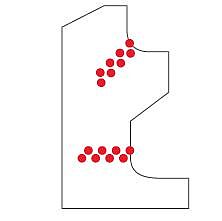
Video: DuraScan Micro Hardness Tester Applications
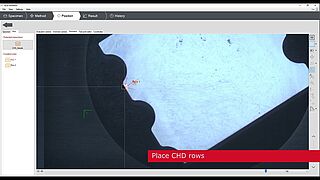
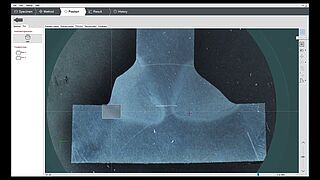
From the single Vickers test point to fully automatic CHD (case hardness depth) testing
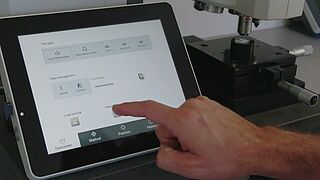
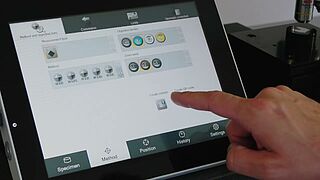
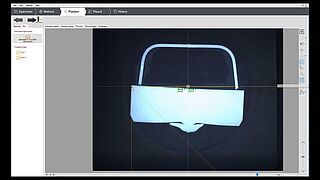
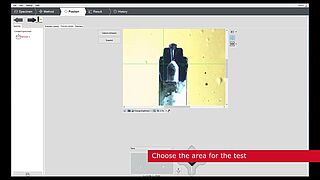
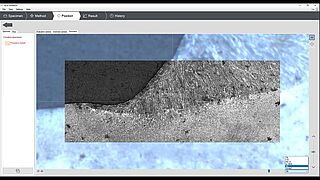
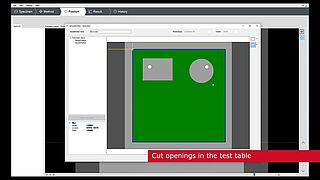
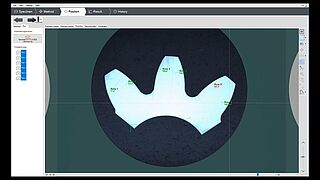
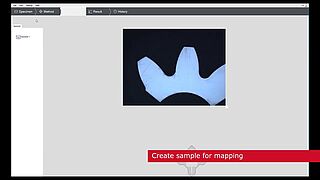
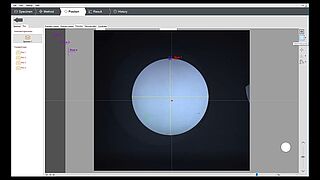
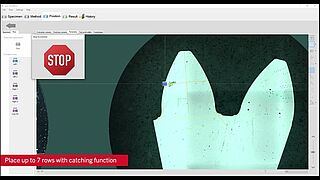
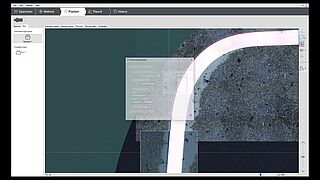
- Easy and efficient operation is a focal point in the development of our hardness testing machines, and is supported by our hardness testing software, which offers useful assistance and practical automation functions.
- The DuraScan series with which all Vickers, Knoop and Brinell test tasks can be tested in a load range between 0.25 g and 62.5 kg features a high level of efficiency, flexibility and process reliability.
Hardness testing according to current standards
- Our hardness testing machines support a wide load range for the Vickers, Brinell and Knoop test methods. All methods are covered with the ISO 6506 / ASTM E10, ISO 6507 / ASTM E384, ASTM E92 and ISO 45452 standards. With the option to extend the load range from 0.25 g to 10 g, we surpass the limits of the standards, giving you access to experimental hardness testing.
- For every method, your specimens are tested with the highest level of precision.
- The automated test point evaluation and easy remeasurement of indentations make hardness testing more efficient and precise than ever before.
Testing the hardness of different materials and shapes
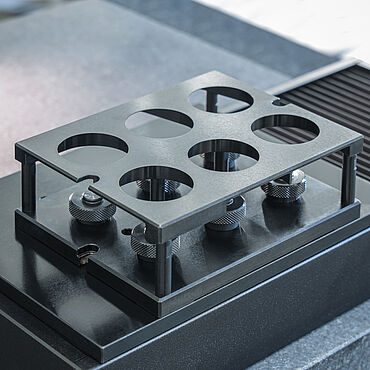
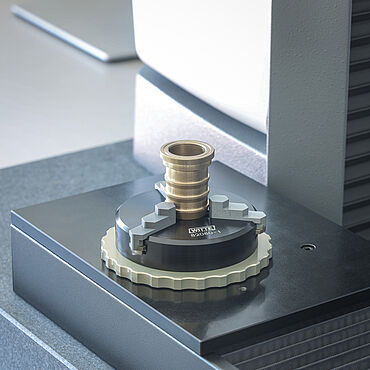
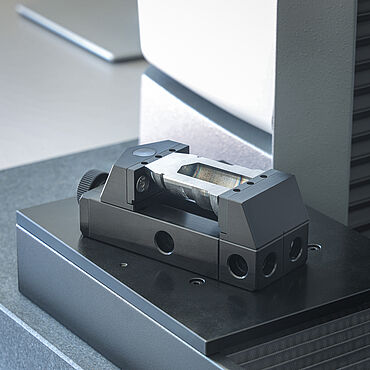
- Whether steel, aluminum, copper, brass, tin, gold, anodized layers, ceramics, glass or plastics. Our micro and small load hardness tester produces precise test results with the appropriate method. With the use of dedicated grips for embedded specimens, several components can be subjected to hardness testing simultaneously. Plane parallel work pieces can be placed directly on the worktop of the machine. Special specimen fixtures such as collet chucks or vises also provide the necessary support for round or complex components without embedment.
Our hardness testers ensure accurate and reliable hardness values regardless of specimen shape and material.
Hardness testing methods – deep insights into your specimen
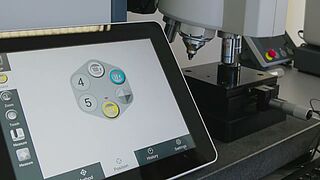
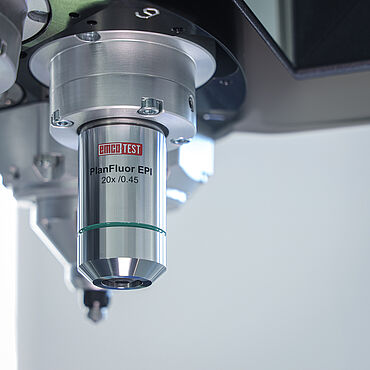
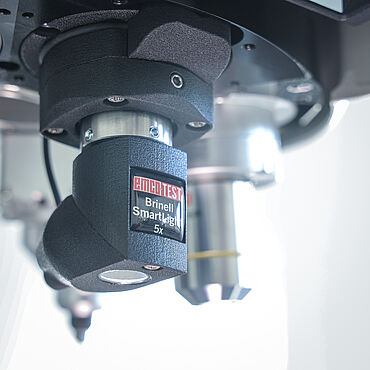
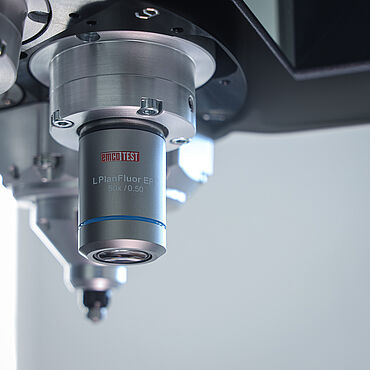
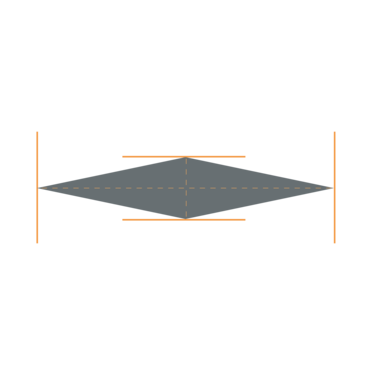
With Vickers, Knoop and Brinell, your test tasks are carried out in a load range between 0.25 g and 62.5 kg Depending on the hardness of the specimen to be tested and the selected method, different lenses enlarge your test indentation.
Your hardness measurements are displayed on your screen in high resolution. The captured images of your test indentations are razor sharp.
Based on the standard, your results can also be converted to other test methods.

DuraScan - Reliable Results & High Return on Investment
- An investment in the DuraScan hardness tester will significantly reduce costs in your laboratory. The fast preparation of test tasks, the ability to store templates for identical parts, many automated processes, and the fully automated test process reduce the operation time of hardness testing and save our customers money on a daily basis. With an intuitive and user-guided software platform, familiarization with the program and reliable operation take no time at all.
- The high precision of our instruments ensures reliable results. Every detail of the micro hardness tester was developed to ensure absolute accuracy and repeatability. At any point in time, you can access your test results which are documented in a traceable manner.
Comparison of DuraScan versions
| DuraScan 10 Lite | DuraScan 20 Lite | DuraScan 10 | DuraScan 20 | DuraScan 50 | DuraScan 70 | DuraScan 80 | |
 |  |  | 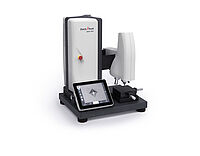 | 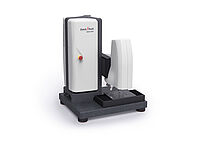 |  | 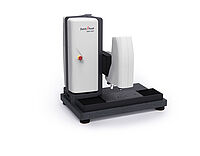 | |
| Load range | 0.00025 - 62.5 kg | 0.00025 - 62.5 kg | 0.00025 - 62.5 kg | 0.00025 - 62.5 kg | 0.00025 - 62.5 kg | 0.00025 - 62.5 kg | 0.00025 - 62.5 kg |
| Measuring turret | Manual | Manual | Manual | Motorized | Motorized | Motorized | Motorized |
| Display | PC with monitor (not included) | PC with monitor (not included) | Display | Display | PC with monitor | PC with monitor | PC with monitor |
| Level of automation | Semi-automatic | Semi-automatic | Semi-automatic | Semi-automatic | Fully automatic | Fully automatic | Fully automatic |
| Software | ecos Workflow Touch | ecos Workflow Touch | ecos Workflow Touch | ecos Workflow Touch | ecos Workflow Pro | ecos Workflow Pro | ecos Workflow Pro |
| Positioning of component | - | Manual cross slide | - | Manual cross slide | Linear table | Linear table | Large linear table |
| Overview camera | - | - | - | - | - | ✓ | ✓ |
| Load range | 0.098 ... 612.9 N (0.01 ... 62.5 kg) |
| Optional load range | 0.002452 ... 612.9 N (0.00025 ... 62.5 kg) |
| Max. speed, Z-axis | 1.2 mm/sec to 20 mm/sec |
| Positioning accuracy with manual spindle | - |
| Dimensions (WxDxH) | 550 x 450 x 700 (mm) |
| Weight | 85 kg |
| Max. test height | 260 mm |
| Electrical connection | 110 ... 230 V (PH, N, PE) |
| Power frequency | 50/60 Hz |
| Power consumption | 120 W |
| Test table (W x D) | Ø 90 mm |
| Evaluation camera resolution | 12 Mpix with CMOS sensor |
| Ambient temperature (to ISO/ASTM) | +23°C ± 5°C |
| Humidity | Max. 70% (non condensing) |
| Operating system | Windows 10/ 64 bit |
| Operation | with external PC |
| Max. work piece weight | 50 kg |
| Protection class to EN 60529 | IP20 |
| Load range | 0.098 ... 612.9 N (0.01 ... 62.5 kg) |
| Optional load range | 0.002452 ... 612.9 N (0.00025 ... 62.5 kg) |
| Max. speed, Z-axis | 1.2 mm/sec to 20 mm/sec |
| Positioning accuracy with manual spindle | ± 0.01 mm |
| Dimensions (WxDxH) | 550 x 450 x 700 (mm) |
| Weight | 85 kg |
| Max. test height | 235 mm |
| Electrical connection | 110 ... 230 V (PH, N, PE) |
| Power frequency | 50/60 Hz |
| Power consumption | 120 W |
| Test table (W x D) | 135 mm x 135 mm |
| Evaluation camera resolution | 12 Mpix with CMOS sensor |
| Ambient temperature (to ISO/ASTM) | +23°C ± 5°C |
| Humidity | Max. 70% (non condensing) |
| Operating system | Windows 10/ 64 bit |
| Operation | with external PC |
| Max. work piece weight | 50 kg |
| Protection class to EN 60529 | IP20 |
| Load range | 0.098 ... 612.9 N (0.01 ... 62.5 kg) |
| Optional load range | 0.002452 ... 612.9 N (0.00025 ... 62.5 kg) |
| Max. speed, Z-axis | 1.2 mm/sec to 20 mm/sec |
| Positioning accuracy with manual spindle | - |
| Dimensions (WxDxH) | 550 x 450 x 700 (mm) |
| Weight | 85 kg |
| Max. test height | 260 mm |
| Electrical connection | 110 ... 230 V (PH, N, PE) |
| Power frequency | 50/60 Hz |
| Power consumption | 120 W |
| Test table (W x D) | Ø 90 mm |
| Evaluation camera resolution | 12 Mpix with CMOS sensor |
| Ambient temperature (to ISO/ASTM) | +23°C ± 5°C |
| Humidity | Max. 70% (non condensing) |
| Operating system | Windows 10/ 64 bit |
| Max. work piece weight | 50 kg |
| Protection class to EN 60529 | IP20 |
| Load range | 0.098 ... 612.9 N (0.01 ... 62.5 kg) |
| Optional load range | 0.002452 ... 612.9 N (0.00025 ... 62.5 kg) |
| Max. speed, Z-axis | 1.2 mm/sec to 20 mm/sec |
| Positioning accuracy with manual spindle | ± 0.01 mm |
| Dimensions (WxDxH) | 550 x 450 x 700 (mm) |
| Weight | 85 kg |
| Max. test height | 235 mm |
| Electrical connection | 110 ... 230 V (PH, N, PE) |
| Power frequency | 50/60 Hz |
| Power consumption | 120 W |
| Test table (W x D) | 135 mm x 135 mm |
| Evaluation camera resolution | 12 Mpix with CMOS sensor |
| Ambient temperature (to ISO/ASTM) | +23°C ± 5°C |
| Humidity | Max. 70% (non condensing) |
| Operating system | Windows 10/ 64 bit |
| Max. work piece weight | 50 kg |
| Protection class to EN 60529 | IP20 |
| Load range | 0.098 ... 612.9 N (0.01 ... 62.5 kg) |
| Optional load range | 0.002452 ... 612.9 N (0.00025 ... 62.5 kg) |
| Positioning accuracy | ± 0.0035 mm |
| Positioning accuracy with glass scale | < 0.25 µm |
| Dimensions (WxDxH) | 550 x 450 x 700 (mm) |
| Weight | 87 kg |
| Max. test height | 260 mm |
| Electrical connection | 110 ... 250 V (PH, N, PE) |
| Power frequency | 50/60 Hz |
| Power consumption | 120 W |
| Test table (W x D) | 200 x 150 mm |
| Evaluation camera resolution | 12 Mpix with CMOS sensor |
| Ambient temperature (to ISO/ASTM) | +23°C ± 5°C |
| Humidity | Max. 70% (non condensing) |
| Operating system | Windows 10/ 64 bit |
| Max. work piece weight | 50 kg |
| Protection class to EN 60529 | IP20 |
| Overview camera | Only DuraScan 70 |
| Load range | 0.098 ... 612.9 N (0.01 ... 62.5 kg) |
| Optional load range | 0.002452 ... 612.9 N (0.00025 ... 62.5 kg) |
| Positioning accuracy | ± 0.0035 mm |
| Positioning accuracy with glass scale | < 0.25 µm |
| Dimensions (WxDxH) | 700 x 450 x 700 (mm) |
| Weight | 98 kg |
| Max. test height | 260 mm |
| Electrical connection | 110 ... 250 V (PH, N, PE) |
| Power frequency | 50/60 Hz |
| Power consumption | 120 W |
| Test table (W x D) | 300 x 150 mm |
| Evaluation camera resolution | 12 Mpix with CMOS sensor |
| Ambient temperature (to ISO/ASTM) | +23°C ± 5°C |
| Humidity | Max. 70% (non condensing) |
| Operating system | Windows 10/ 64 bit |
| Max. work piece weight | 50 kg |
| Protection class to EN 60529 | IP20 |
| Overview camera | Yes |
Accessories for the DuraScan micro hardness tester
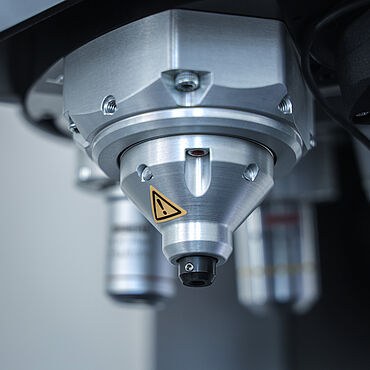
When looking at the hardness testing machine in detail, you will clearly see the many hidden benefits stemming from our many years of development. The DuraScan is currently in its fifth generation and includes numerous improvements, which are a result of decades of feedback provided by our customers. Today, we continue using the latest technology on our machines to maintain our position as pioneer in the hardness tester market.
